*This post is written in partnership with Leiths School of Food and Wine
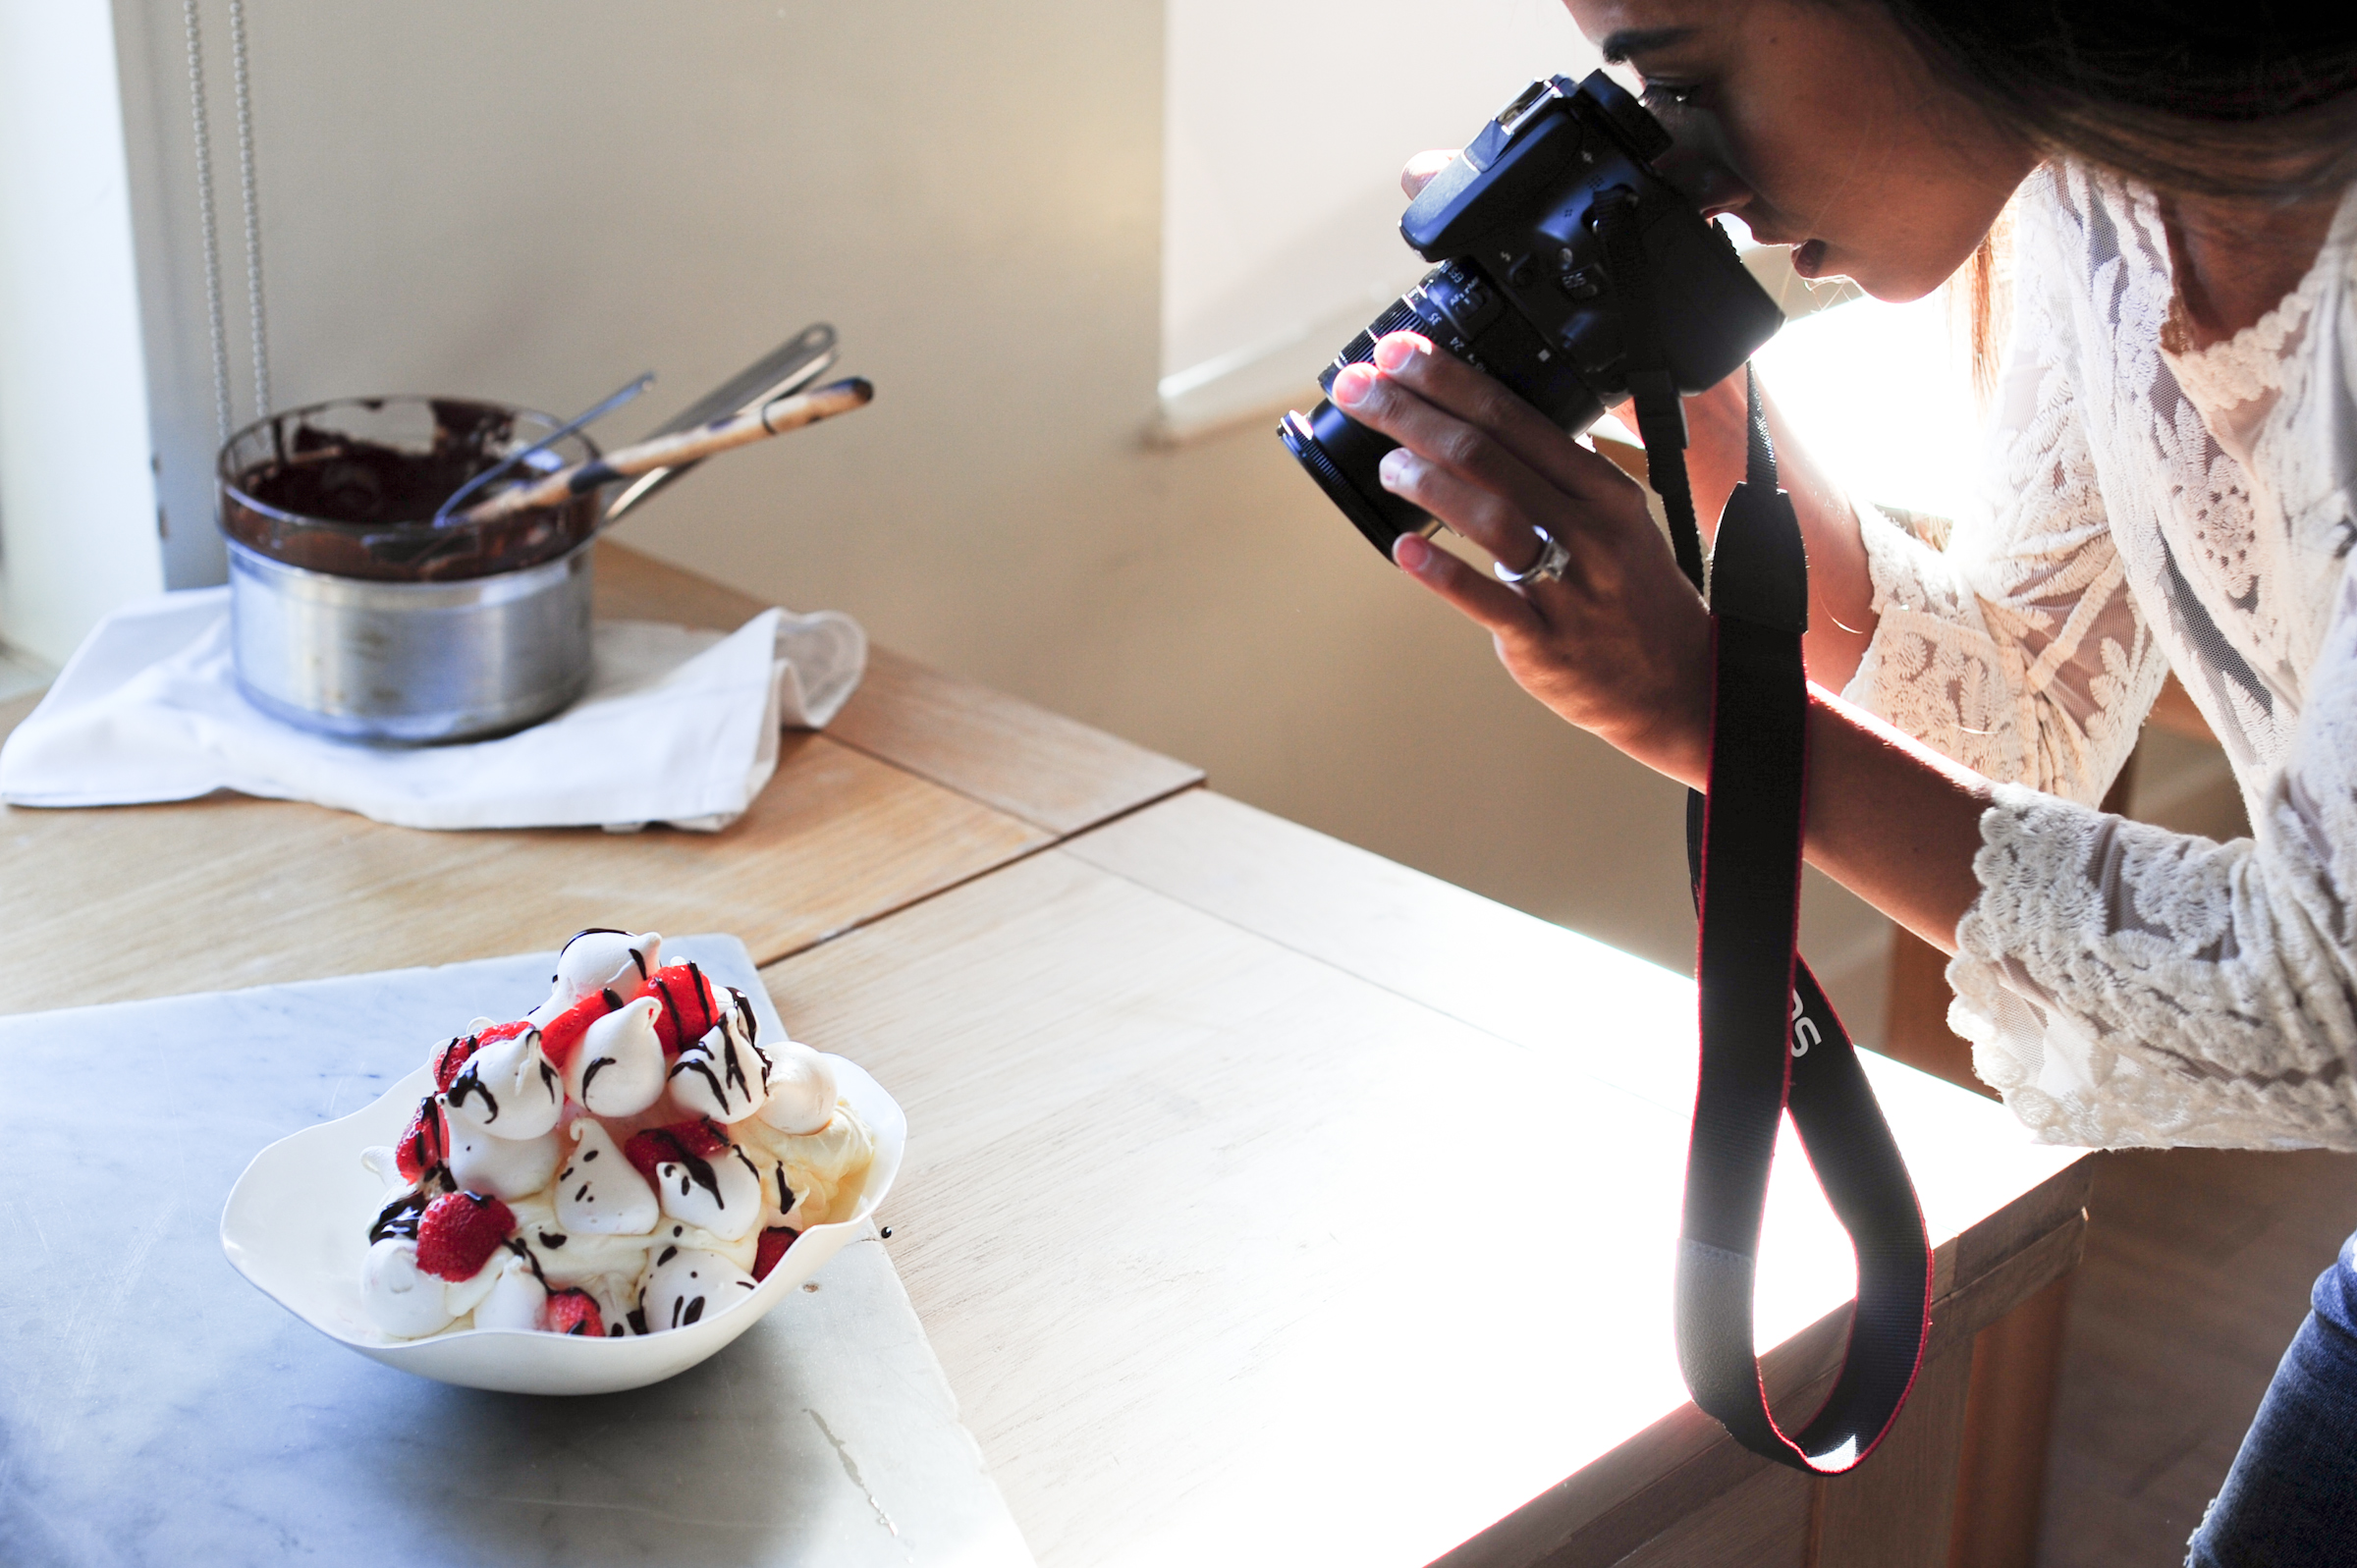
When I first started to photograph food, I was pretty awful. Here are two of my oldest posts: Banana baked oatmeal power bars and Fudge brownie tarts, for full emphasis. I began back at university, when I’d just started this blog and knew I needed images to post alongside recipes. Saturated with beautiful, truly stunning food photography online, I thought ‘how hard can it be?’ If I point and shoot my photographs will look pretty similar, right? Oh how wrong I was. I would get so frustrated when my photographs didn’t look anything like those I saw on Pinterest and Instagram. *Thanks Rob for listening to my years of moaning, love you*. They were too dark, out of focus, and they just didn’t ‘pop’. Looking back there’s no wonder – I had no idea what I was doing and was missing some really easy, simple tricks.
So I thought I’d share what I’ve learnt from food photography so far and in partnership with Leith’s School of Food and Wine and photographer Charlie Richards, what I’d still like to learn (and can!)
1. Photographing in natural light is key. Avoid really bright light and areas directly in the shade – you want that sweet spot in the middle. If that’s not happening where you usually shoot, feel free to move around to find the best light source. The light is best in my kitchen in the mornings and in my dinning room/studio from lunch onwards. If I want to shoot something overhead with lots of ingredients or dishes, I’ll set up everything on floor rather than on a table, to give me a bit more control.
2. Set up your props and decide on your angles before the food is ready. Of course you’ve got more leeway if you’re photographing something like cake, which can sit out for a bit longer, but if you’re shooting something with a sauce or lots of leaves, things can start looking a little dry and tired. For emergency cases, I find an extra drizzle of oil sometimes works, or a spritz of water can help bring things back to life.
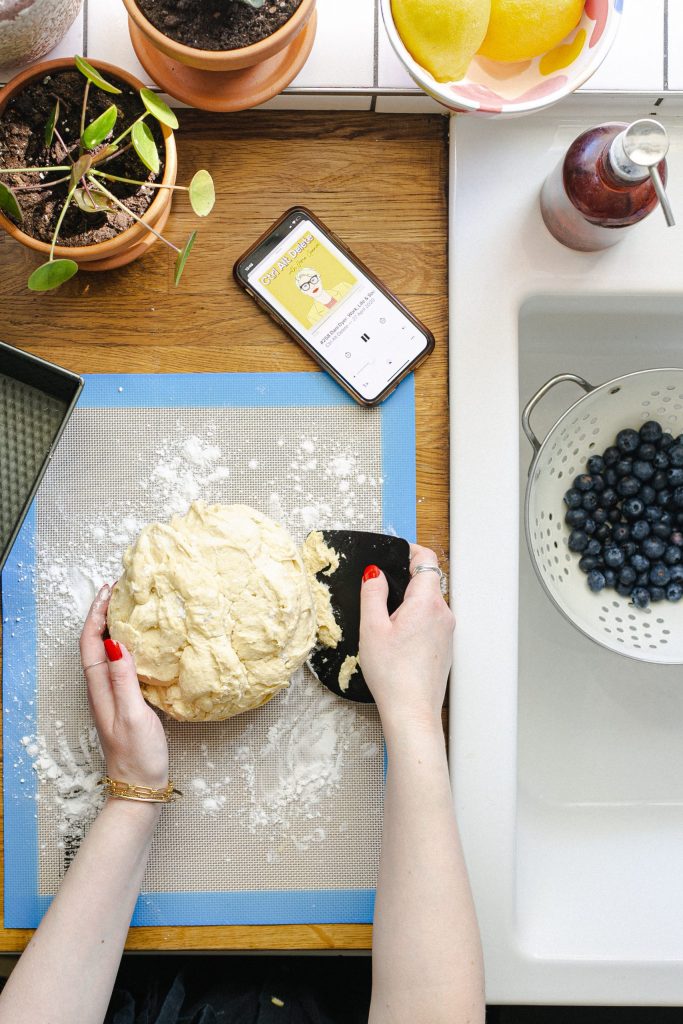
3. Sometimes the behind the scene shots are the best shots. Emma Croman taught me this – she’s a master of catching light hitting ingredients, or capturing the mess in the sink, that actually looks quite charming. Photographing crumbs, splatters, surroundings and different cooking stages can help tell the story to the viewer and make a recipe so much more approachable.
4. If there isn’t any mess around, think about adding some in. There’s a balance for sure and you don’t want an image to look too cluttered, but a simple garnish, some cutlery or a crumpled napkin might make a big difference in the end result. Just remember everything in the photograph should have a purpose.
5. Play around with backgrounds, but keep them realistic. When I first started I’d photograph food on my parent’s patio outside, or on top of my bed covers. Ask yourself, is this something you would actually eat in this environment? If not, think about another surface you might find the food on more naturally. Capture by Lucy is one of my favourite places to get reasonably priced backdrops. And they’re wipe clean too.
6. Post-editing can make a huge difference. Whether you’re shooting on your iPhone or DSLR (I use my iPhone for a lot of Instagram shots, but invested in a second hand Canon EOS 6D for blog shots FYI), a few simple tweaks such as adding in texture, bringing down the highlights, upping the vibrancy and grain and fixing exposure can transform an image. I like Vsco and Adobe Lightroom Mobile on my phone for editing photographs and then use Adobe Lightroom on my laptop.
7. It’s a process and you keep learning. I’d like to think I’ve come a long way since my university food photography days, but I’ve still got a long way to go! Which is why I’m really excited to be teaming up with Leiths to shout about their upcoming photography course with Charlie Richards. Charlie is an award-winning independent photographer specialising in food, food-lifestyle and food and drink, shooting for a range of editorial, PR, marketing, packaging, design and advertising clients in the UK and abroad. His clients include Waitrose, Olive Magazine, Delicious Magazine, Sainsbury’s and The Sunday Times. Check out some of his work and here and see his Instagram here. It’s the first time Charlie has run his own course at Leiths and I’m SO excited to be attending. I completed the three month Essential Cooking Certificate at Leiths and absolutely loved it. They’re such a talented bunch of people and I couldn’t recommend their classes more.
Tell me more about this photography course at Leiths
It’s a practical two day course, where Charlie will be teaching the techniques he uses to create beautiful food images. We will learn how to get the most out of our cameras as well as tips on lighting, composition and food styling. Four things I’m really excited to learn include:
- Establishing a style and how to be a bit more consistent
- Getting to know my camera settings – my brain can’t quite seem to get board with ISO and shutter speeds
- Composition. I know there’s a Rule of thirds situation that should be going on, but I always forget about it
- Using different kinds of lenses for different shots
And there will be lots more taught too. Sound like your kind of thing? You can find out more about the course here, which is running on the 1st and 2nd of February, with lunch included on both days. And I’m thrilled to say you can use the exclusive code ‘EMMA10‘ to get 10% off.
Any questions comment below or get in touch with Leiths through the contact details on their website. Hope to see some of you there!
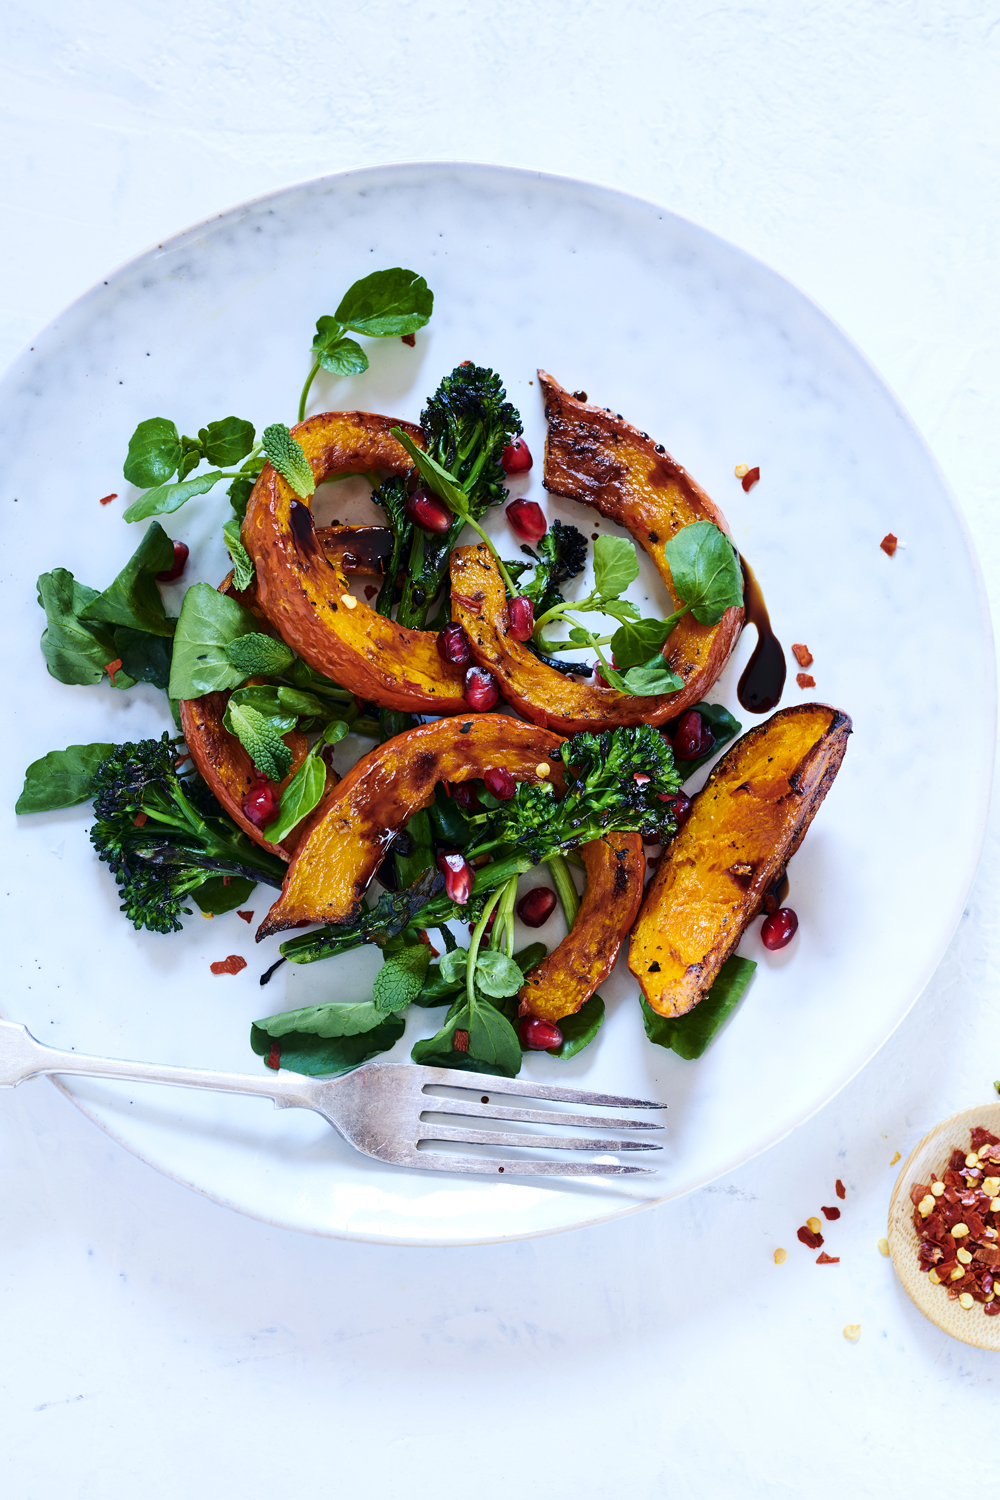
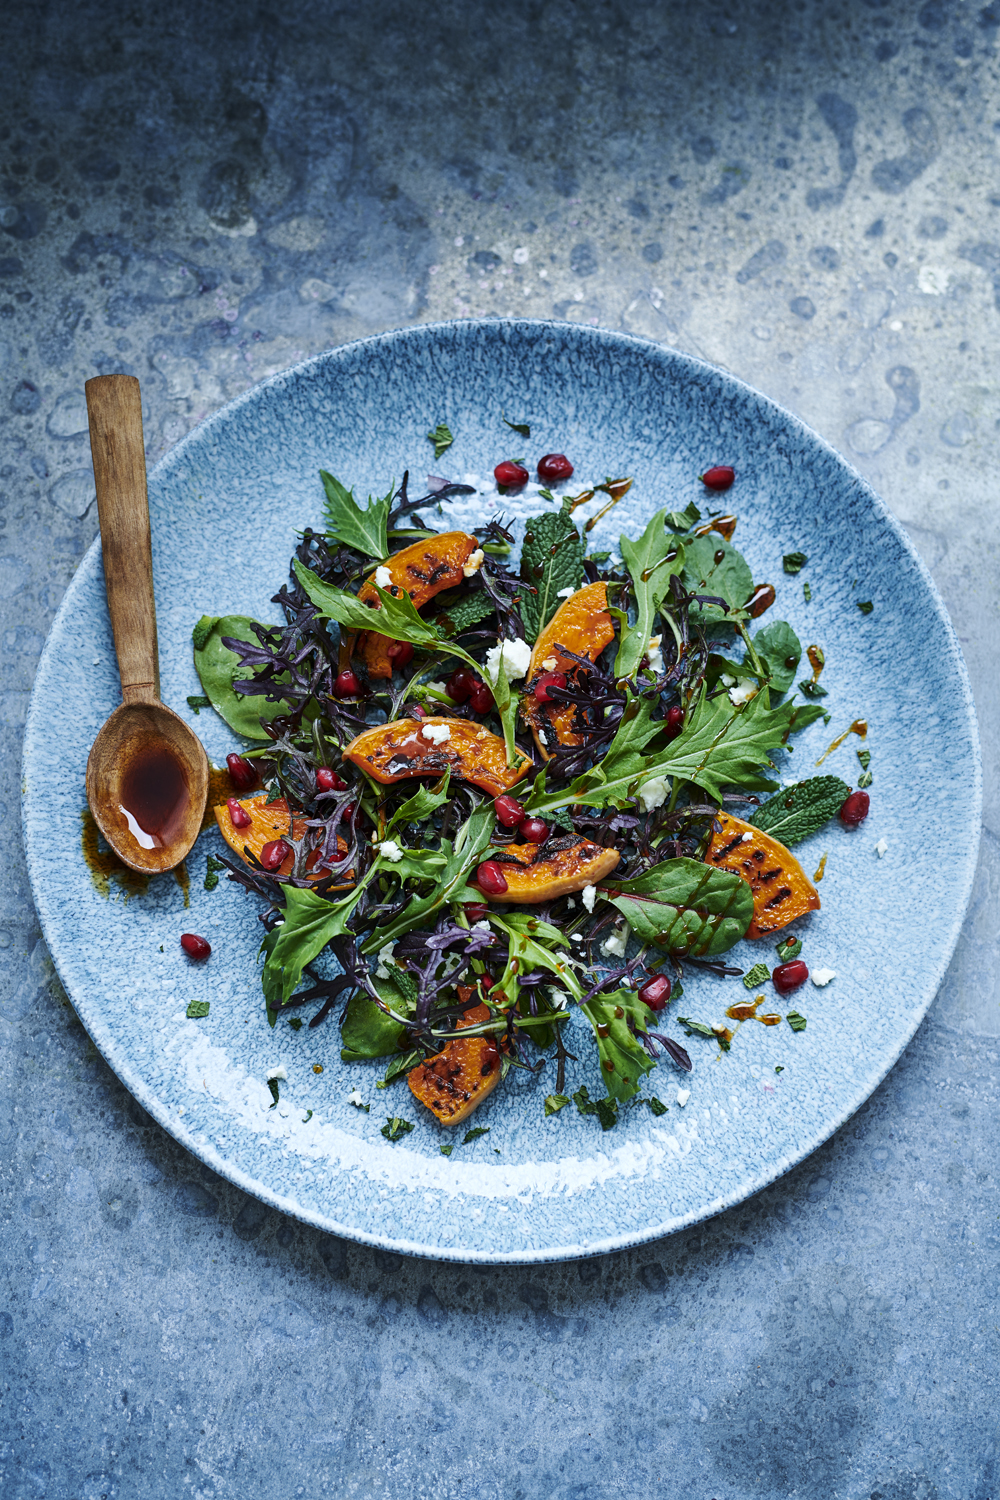
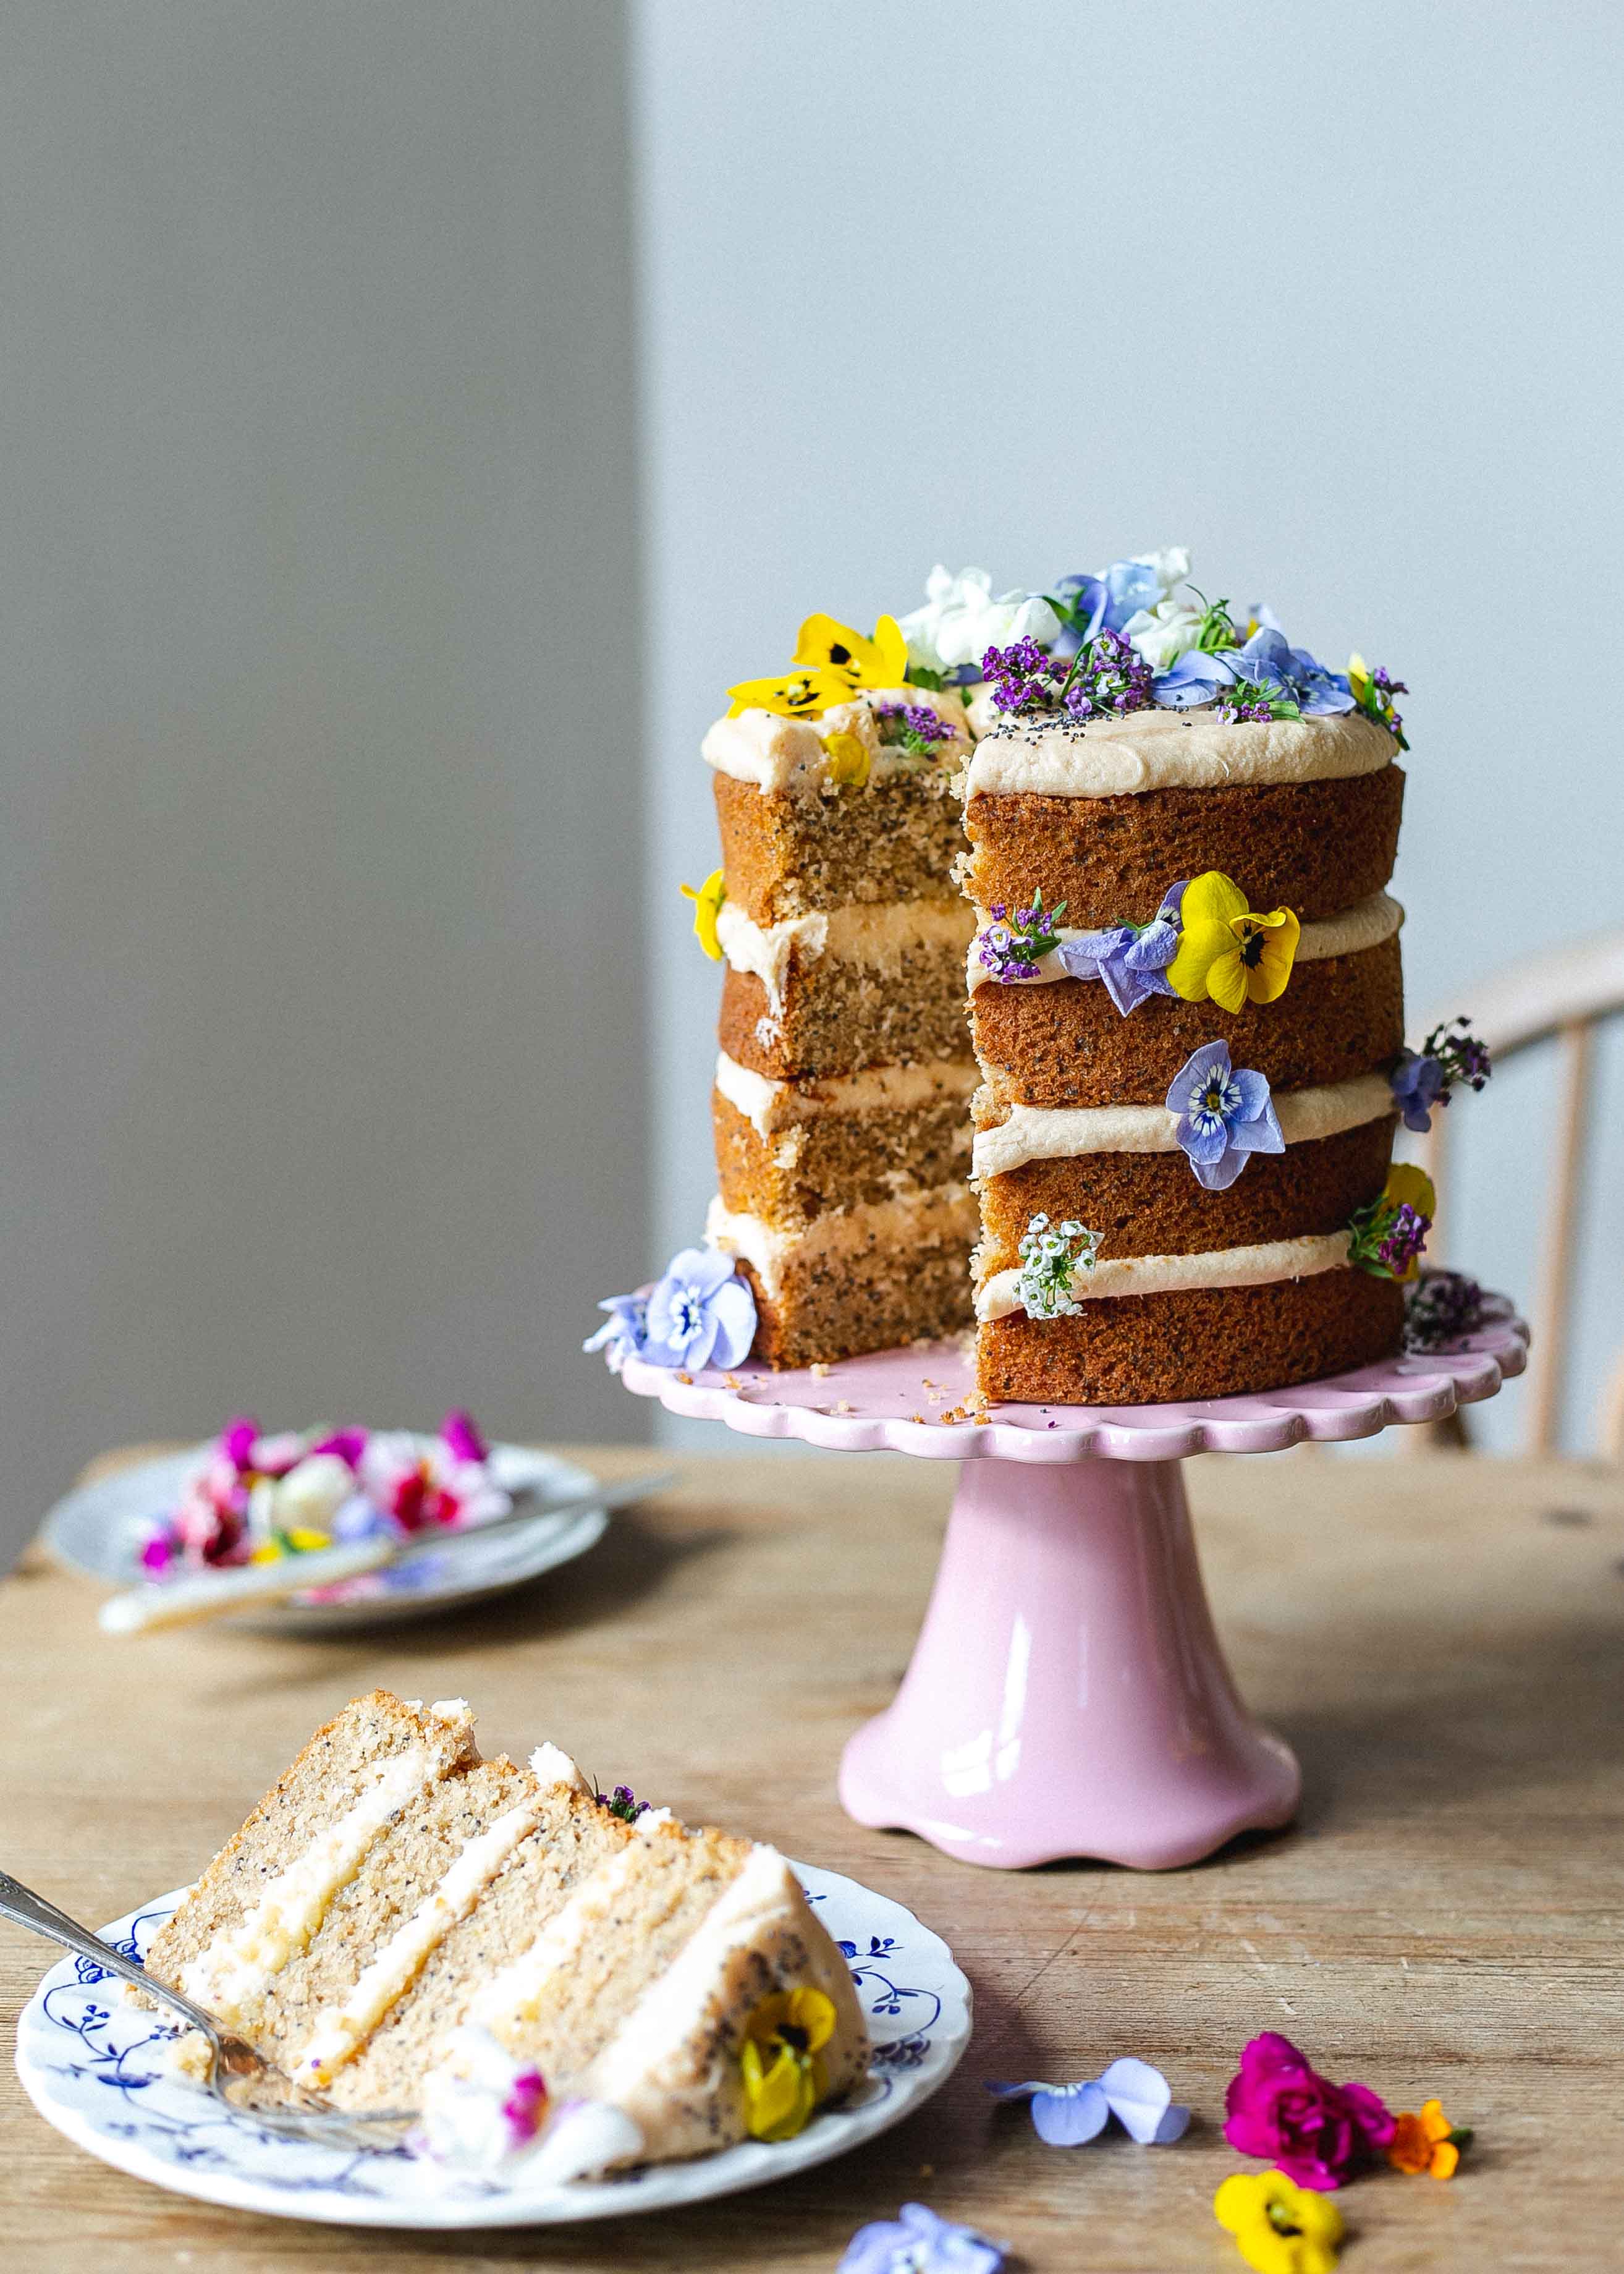
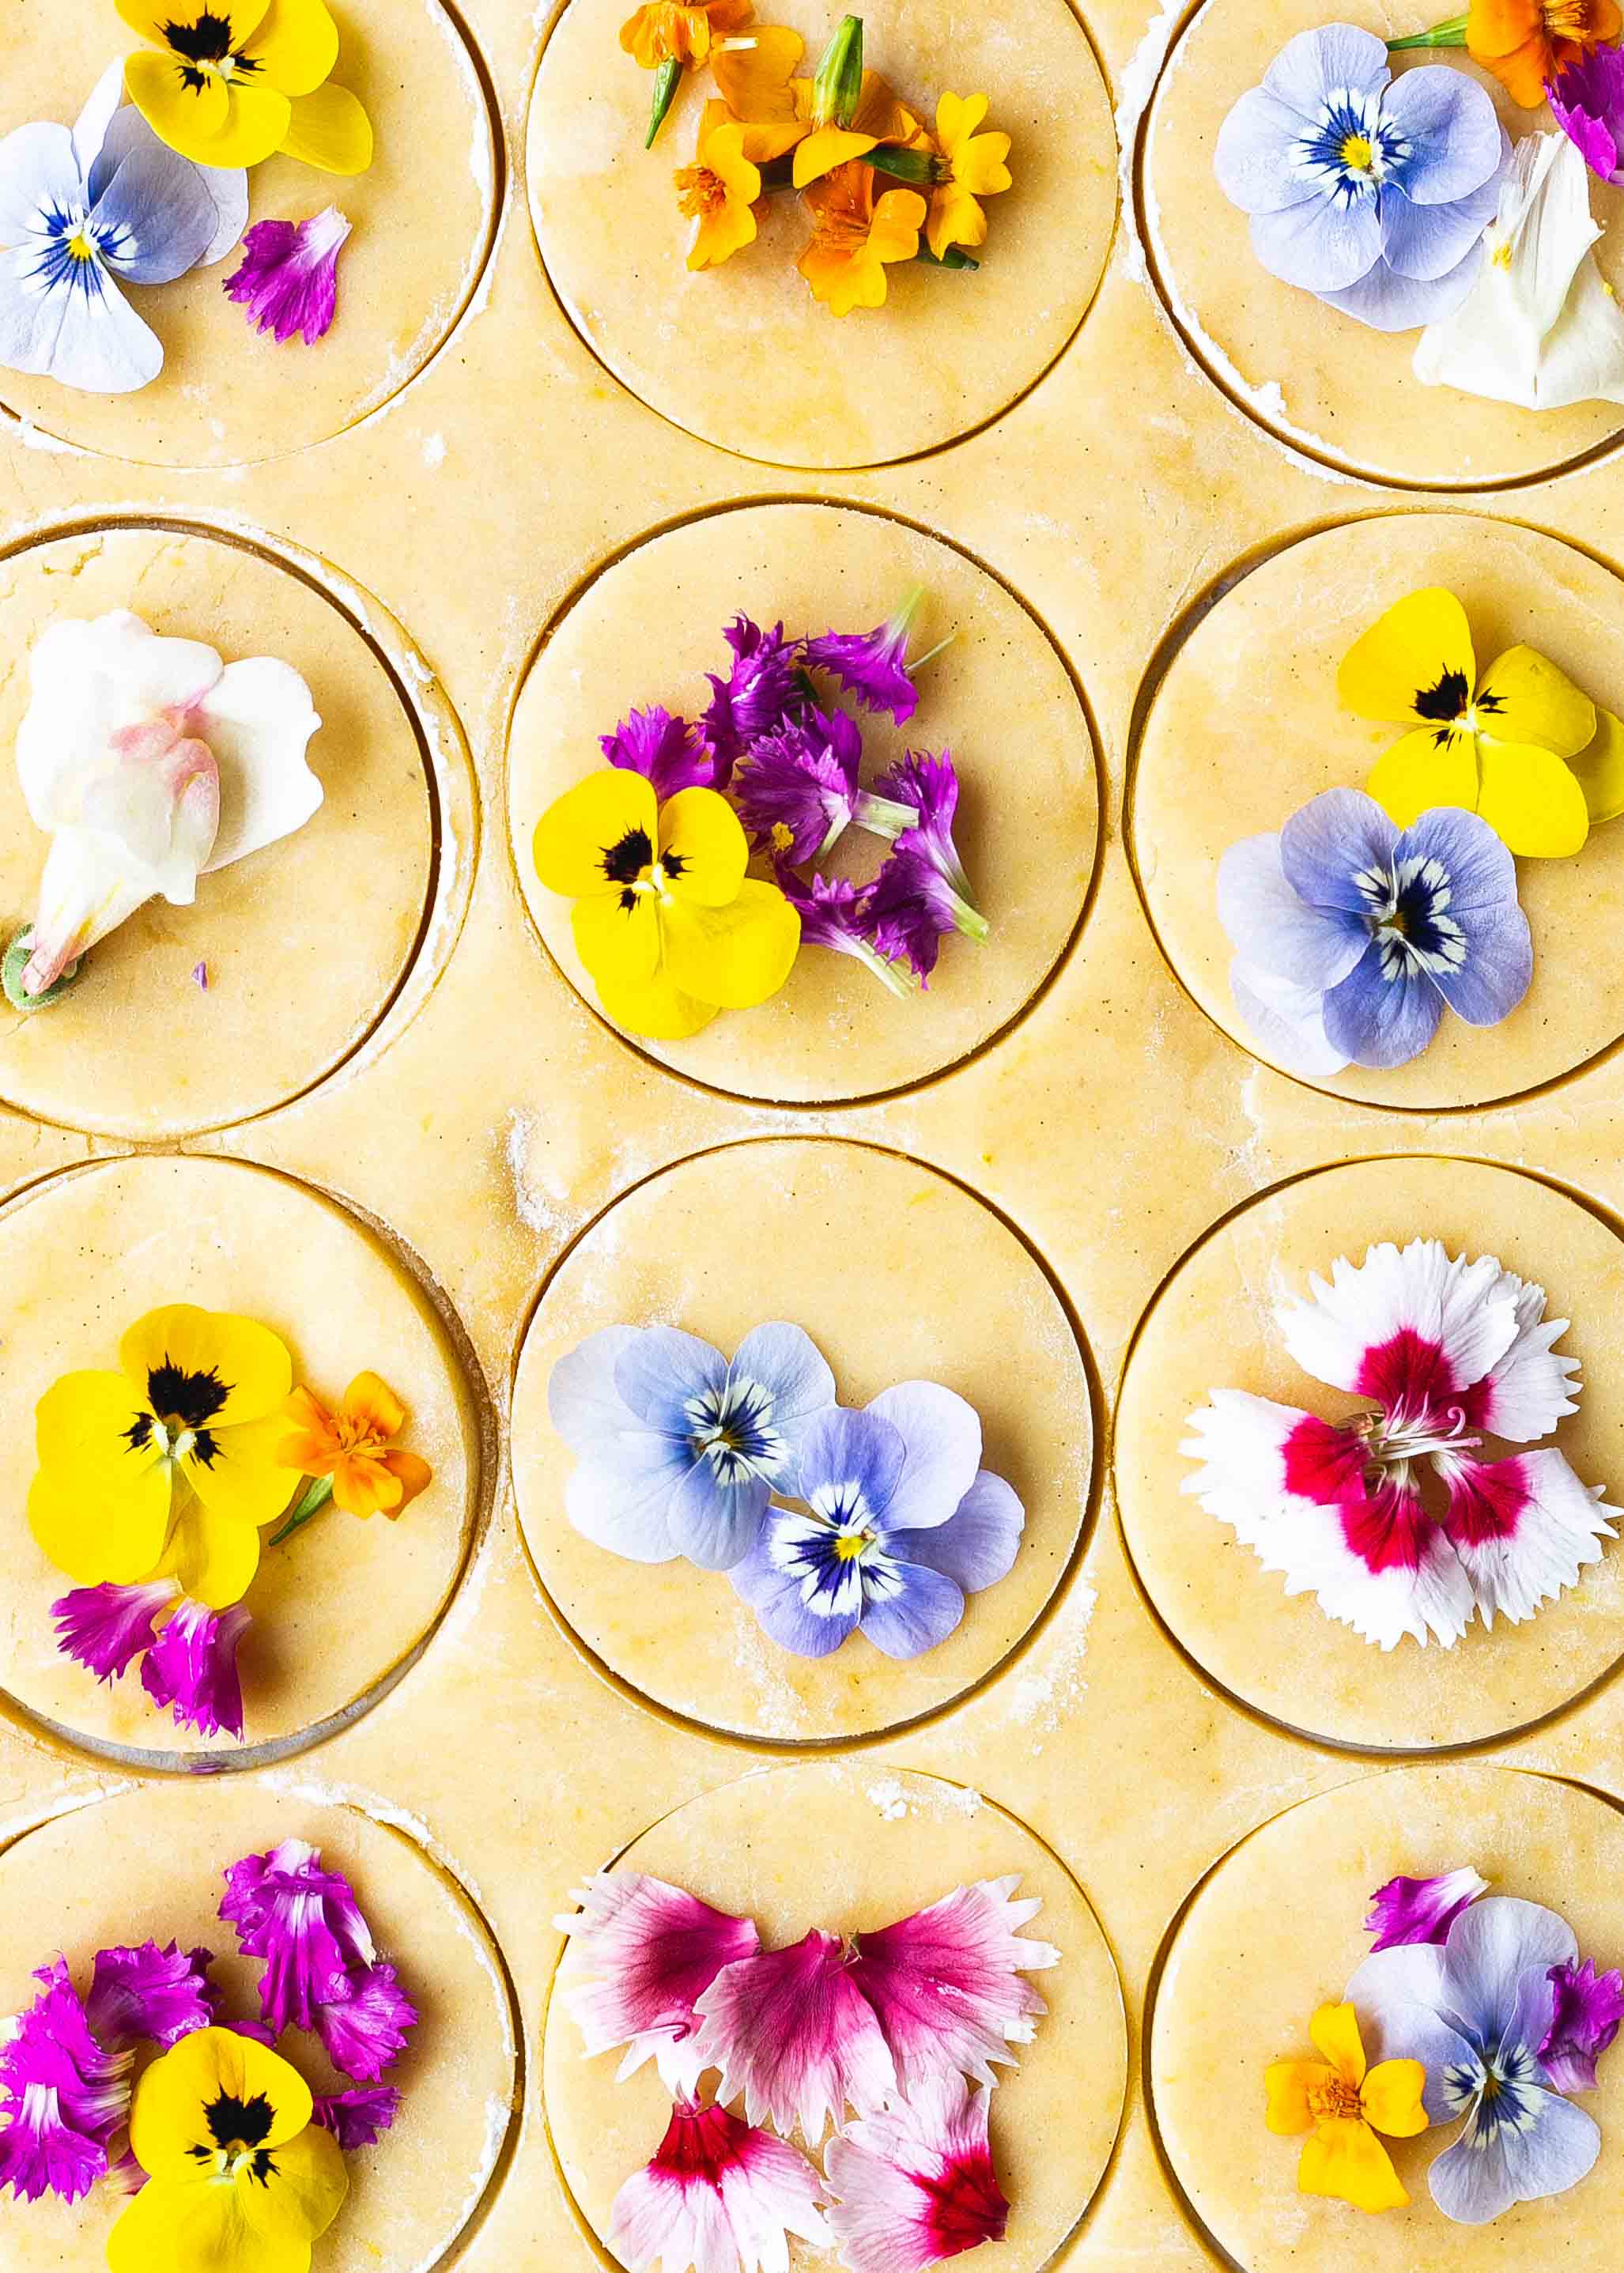
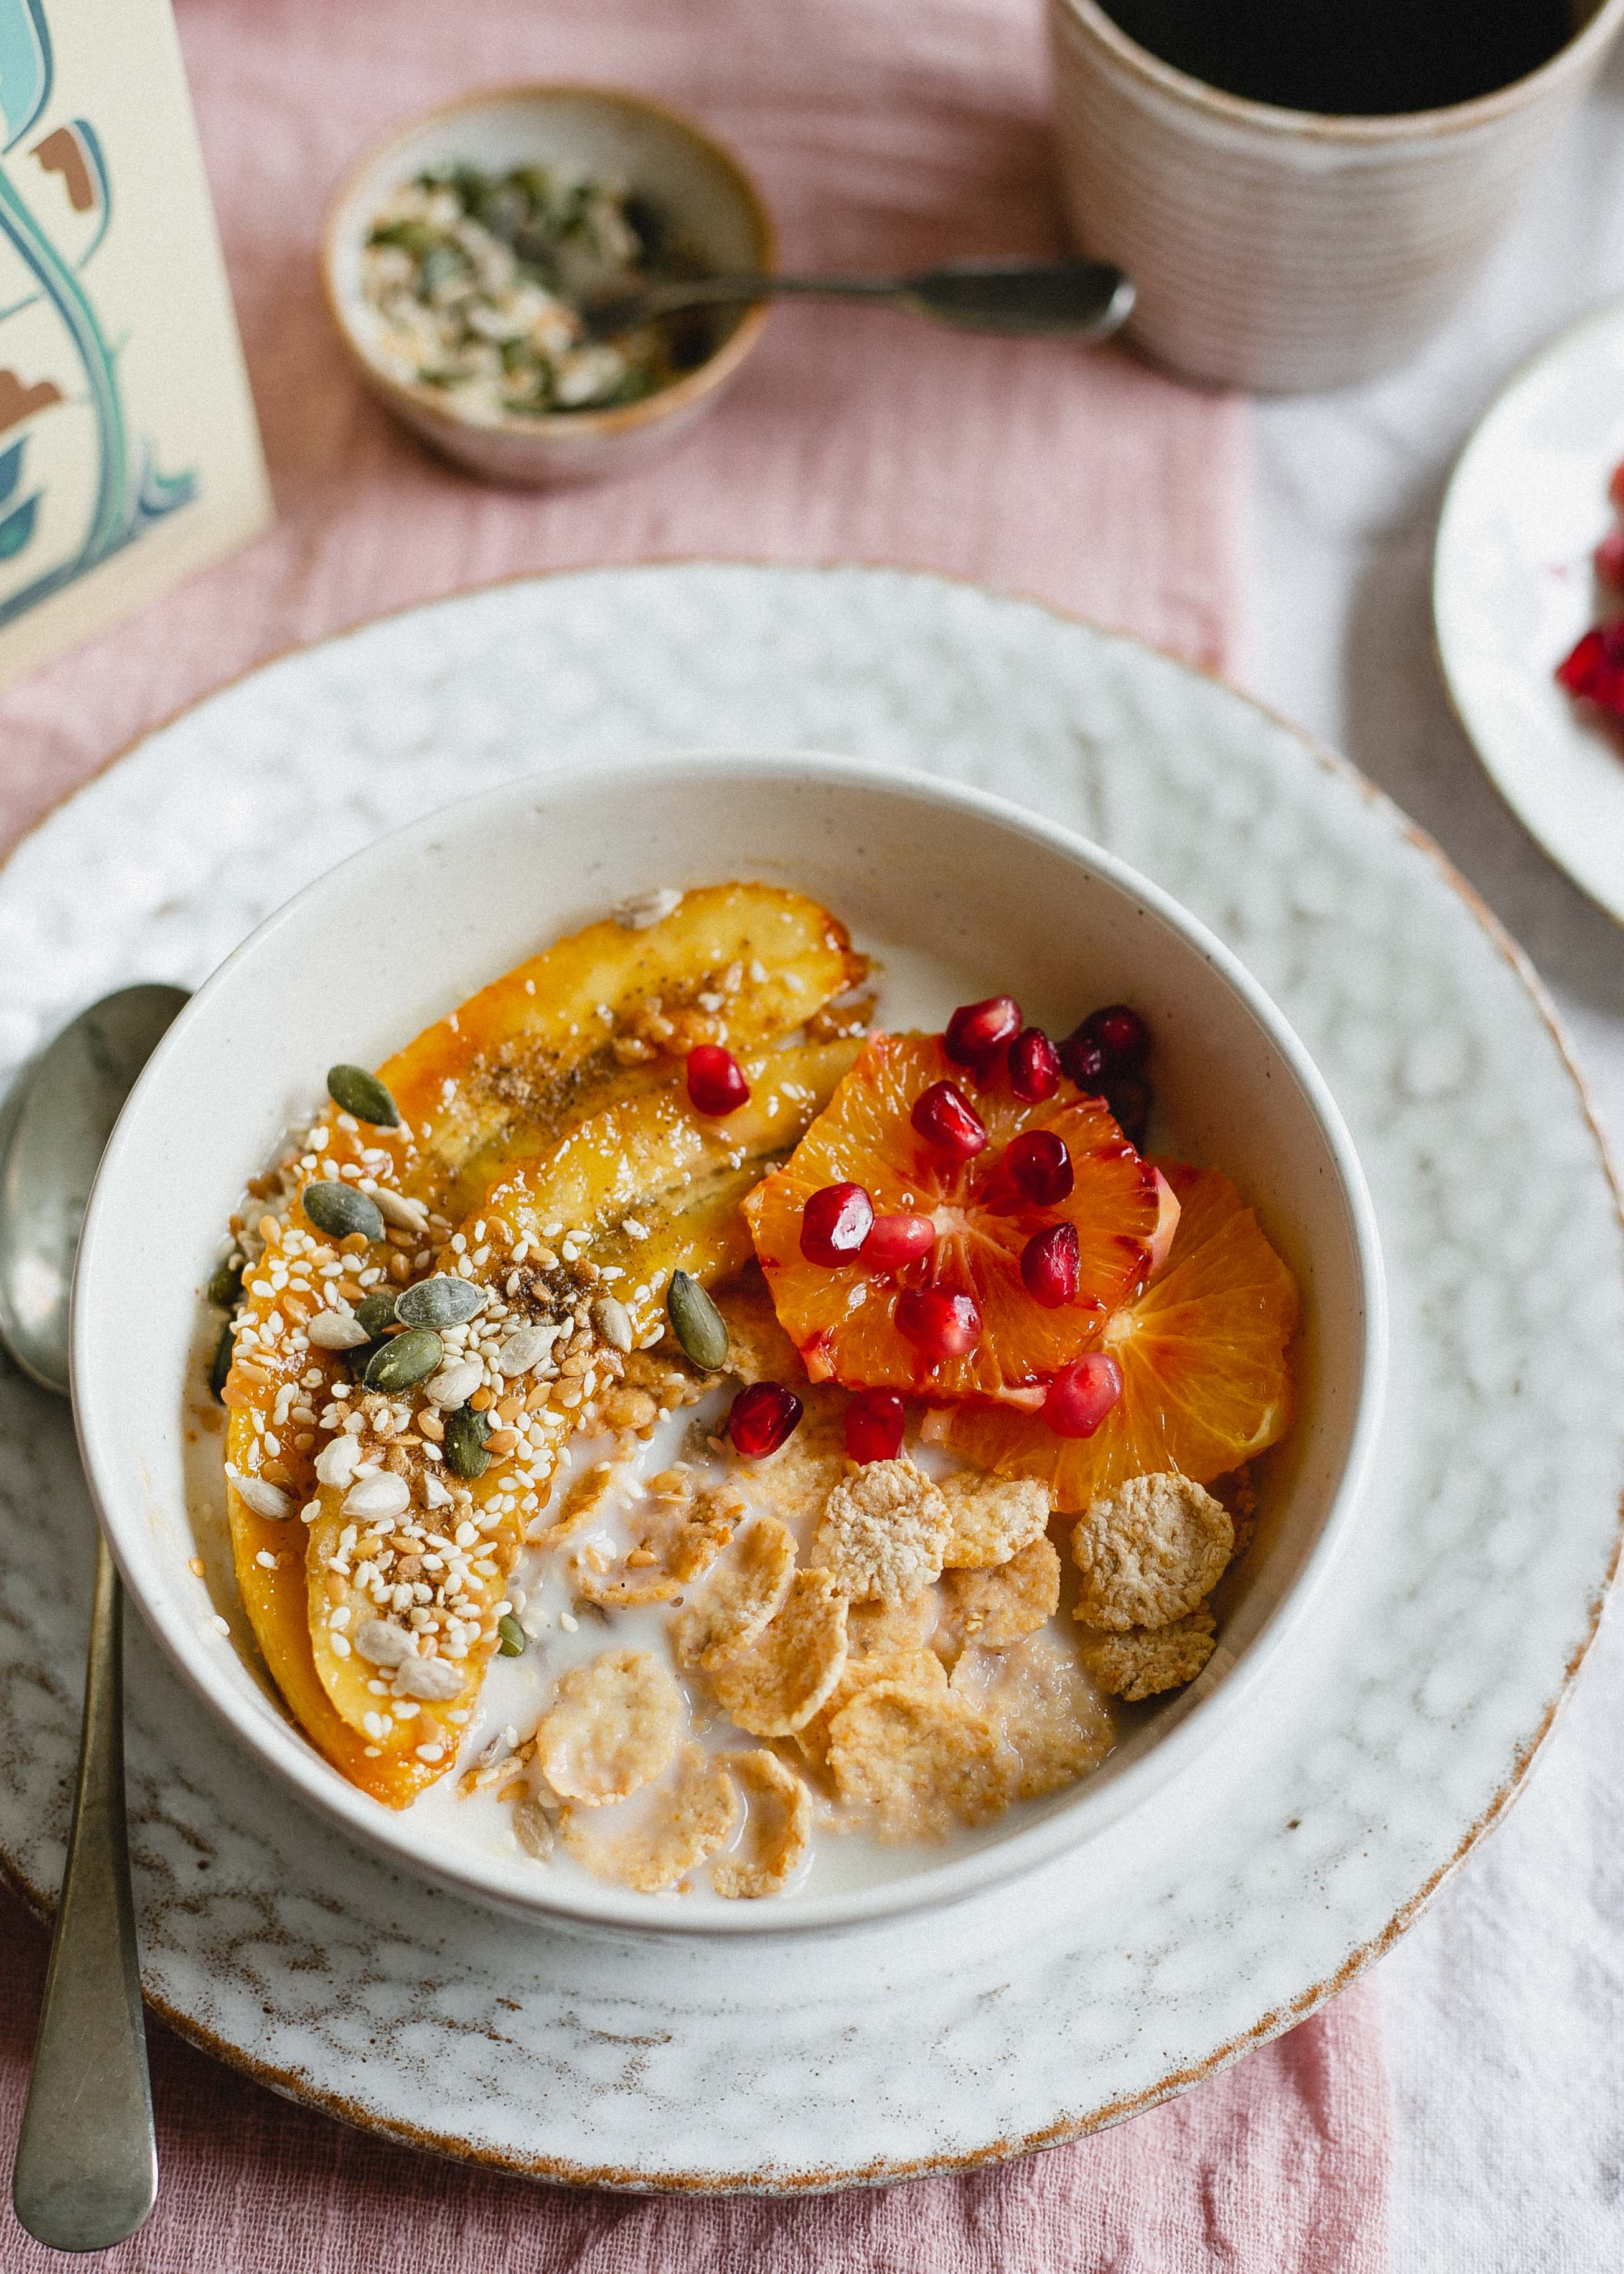
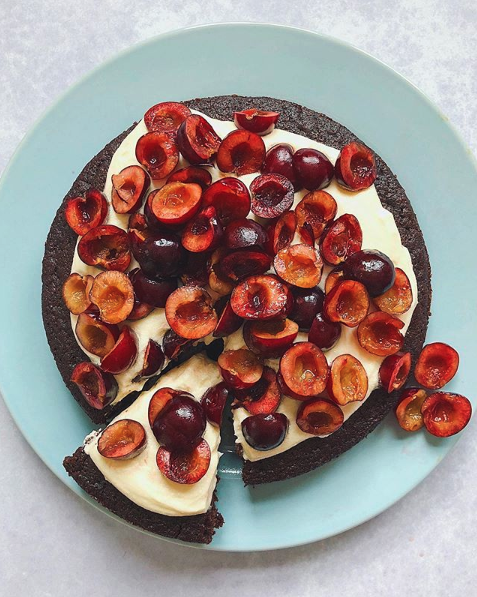
Two of Charlie’s photographs showing just how different food can look thanks to styling and how you use your camera ^.
First photograph by Charlie Richards too.